Your car. Straight into
Home Assistant.
The official Aximote integration brings GPS position, fuel and battery level as well as trip data into your smart home as native entities — no detours, no extra hardware.
What's inside the integration.
The integration reads from the Aximote Public API and automatically creates a device with all available sensors for every vehicle in your account.
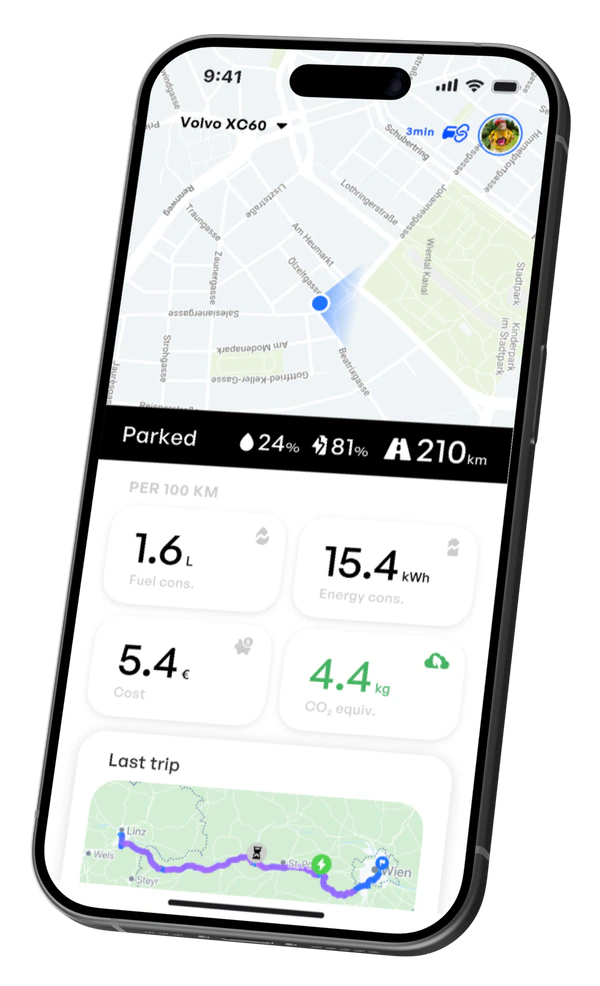
GPS Tracking
Real-time vehicle position as a device tracker. Location on the HA map, usable for geo-automations.
Fuel & Battery
Level in percent, range in km. Perfect for notifications at low levels.
Trip Data
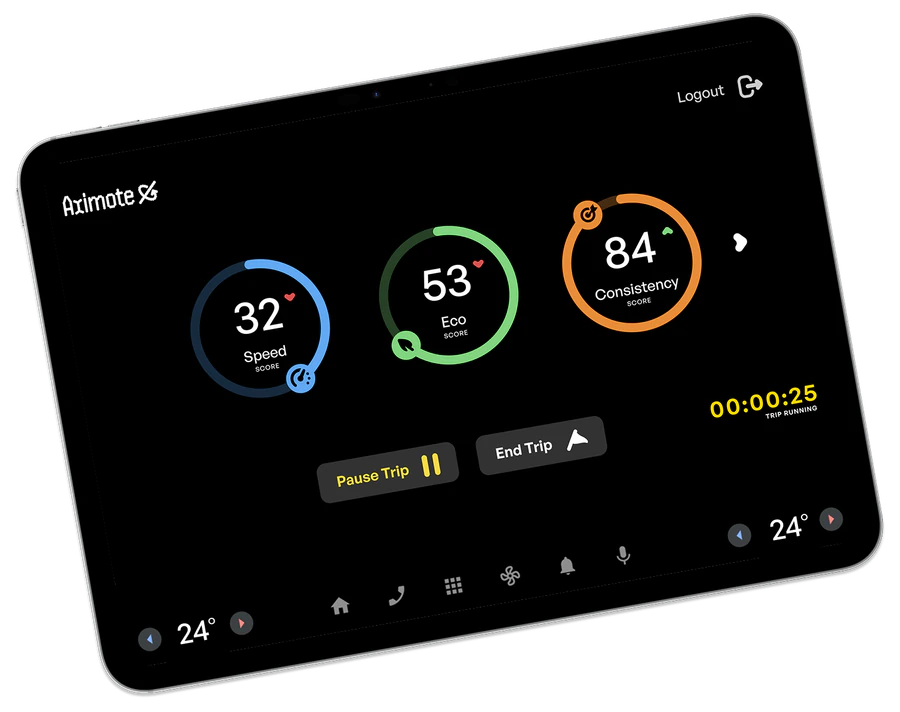
Driving status (on trip / parked), speed, heading and mileage as sensors.
Charging & Refueling Events
Last refuel and charging session with cost, amount and timestamp – straight from the API.
Vehicle Profile
Make, model, year, tank capacity and battery capacity as static sensors.
Binary Sensors
Ignition on/off and trip active as binary sensors — ideal for automations.
How it works. Simply.
Create a Personal Access Token
Create a PAT in the Aximote app under Profile → API access. Aximote Pro required.
Install the integration via HACS
Add the custom repository
github.com/Aximote/home-assistant-aximoteto HACS and install the integration.Enter token & get started
Enter your PAT in the Home Assistant integration setup. Your vehicles appear as devices automatically.
15+ sensors per vehicle.
For every vehicle in your account the integration automatically creates a device with all available entities.
| Sensor | Unit | Description |
|---|---|---|
| GPS Position | Coordinates | Real-time location as device tracker |
| Fuel | % | Current level |
| Battery | % | State of charge (EV) |
| Range | km | Remaining range |
| Mileage | km | Total kilometers |
| Trip Active | yes/no | Binary sensor |
| Speed | km/h | Current speed |
| Last Charge | kWh | Energy of the last charging session |
| Last Refuel | L / € | Amount and cost |
| Vehicle | Text | Make, model, year |
Set up in 3 steps.
Installation via HACS only takes a few minutes.
Step 1 — Open HACS & add repository
Open HACS in Home Assistant, navigate to Integrations and click ⋮ → Custom repositories. Add the following URL with category Integration:
https://github.com/Aximote/home-assistant-aximoteStep 2 — Install Aximote & restart HA
Install Aximote from the HACS Integrations tab and restart Home Assistant.
Step 3 — Configure the integration
Go to Settings → Devices & Services → Add integration → Aximote and enter your Personal Access Token (format: axm_pat_…).
REST API for your own integrations.
The Aximote Public API is a read-only REST interface. Authenticate via Authorization: Bearer axm_pat_…. All units SI, timestamps ISO-8601 UTC.
| Endpoint | Description |
|---|---|
| GET /api/public/v1/vehicles | List of all vehicles |
| GET /api/public/v1/vehicles/{id}/state | Current vehicle state |
| GET /api/public/v1/trips | Trip list |
| GET /api/public/v1/refuels | Refuel and charging events |
| GET /api/public/v1/me | Account information |
Frequently asked questions.
Home Assistant 2024.6 or newer.
Yes. A separate device is created automatically for every vehicle.
No. The API is read-only — no commands can be sent to the vehicle.
In the Aximote app under Profile → API access. PATs are an Aximote Pro feature.
Yes, MIT licensed: github.com/Aximote/home-assistant-aximote